Home Insurance Claims: Step-by-Step Guide to Filing, Documentation, and Payouts
From storm damage to theft, learn how to file a homeowners claim correctly, document losses, work with adjusters, and avoid common settlement mistakes that delay payment.

When something goes wrong at home—storm damage, a burst pipe, theft—your next steps determine how fast you get paid and how fair your settlement will be. The claims process isn’t complicated, but it is detail-driven. This guide gives you a clear timeline, what to document, what to say, and what to avoid.
Step 1: Stop the Damage and Stay Safe
- Prioritize safety (turn off water/electric if needed).
- Make temporary repairs to prevent further damage (tarp a roof, shut off water, board broken windows).
- Keep receipts—temporary repairs are often reimbursable.
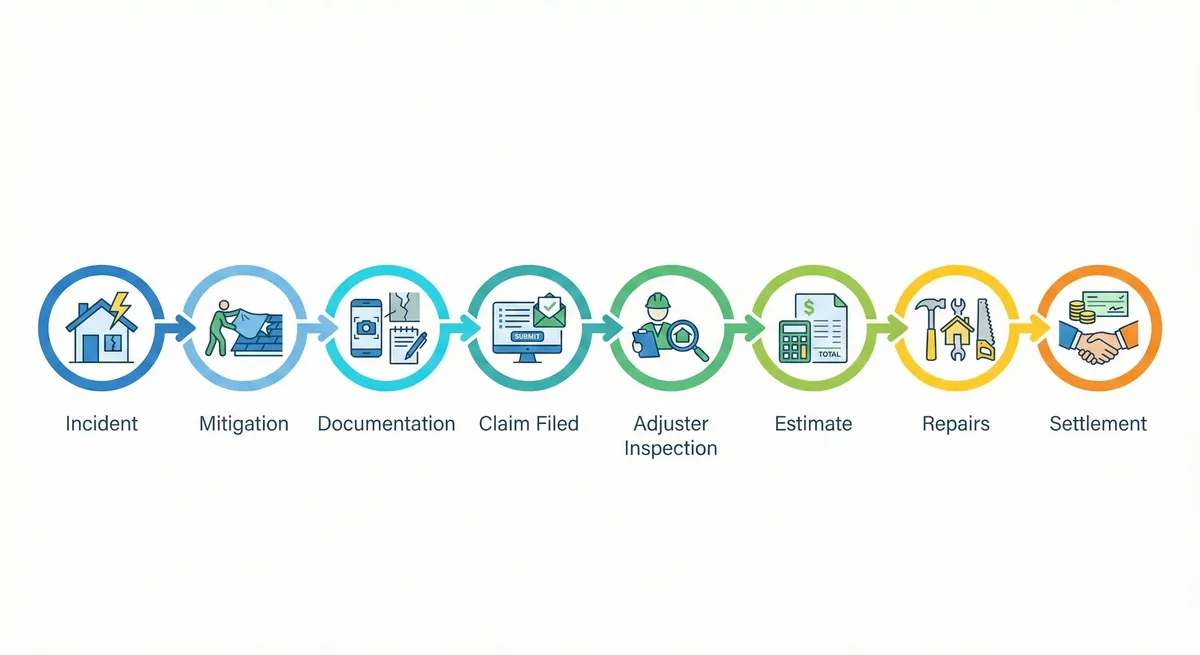
Step 2: Document Everything (Photos + Inventory)
Documentation is your leverage. Take:
- Wide shots of each affected room
- Close-ups of damage (including water lines, cracks, broken items)
- Exterior shots (roof, siding, windows)
- Serial numbers and model details when possible
Create a Loss Inventory
For personal property claims, you may need a detailed list: item, brand, model, approximate age, and replacement cost. Bank/credit card statements can help prove ownership.
Step 3: File the Claim Correctly
File quickly, but be accurate. Provide the event date, what happened, and what you did to prevent further damage. Ask for the claim number, adjuster contact, and next steps.
Step 4: Understand Your Settlement Type
- Replacement Cost: pays to replace/repair with new equivalents (best).
- Actual Cash Value (ACV): depreciation reduces payout.
Some claims pay in two stages: ACV first, then recoverable depreciation after you complete repairs and submit receipts.
Step 5: The Adjuster Visit (How to Prepare)
- Be present and walk the property with the adjuster if possible.
- Share your photos and list of damaged areas.
- Ask what’s covered, what’s excluded, and which deductible applies.
Common Claim Traps to Avoid
- Water claims: sudden burst pipes may be covered; long-term leaks often aren’t.
- Roof claims: insurers may argue wear-and-tear instead of storm damage—photos and dates matter.
- Coverage limits: special limits on jewelry/collectibles can reduce personal property payout.
- Delays: missing documents or unclear inventories slow everything down.
When to Get Contractor Estimates
If damage is significant, get at least one contractor estimate. Compare scope line-by-line. Differences often come from hidden damage, code upgrades, and materials.
Final Checklist (Save This)
- Photos: wide + close-up + exterior
- Temporary repairs + receipts
- Inventory list with details
- Claim number + adjuster contact
- Repair estimates and timeline updates